
Drawing a single hair is relatively easy. So what do you do if you need to illustrate a lot of hair on a furry friend? With Adobe Illustrator, this type of graphic application is a lot easier with its suite of Symbols tools.
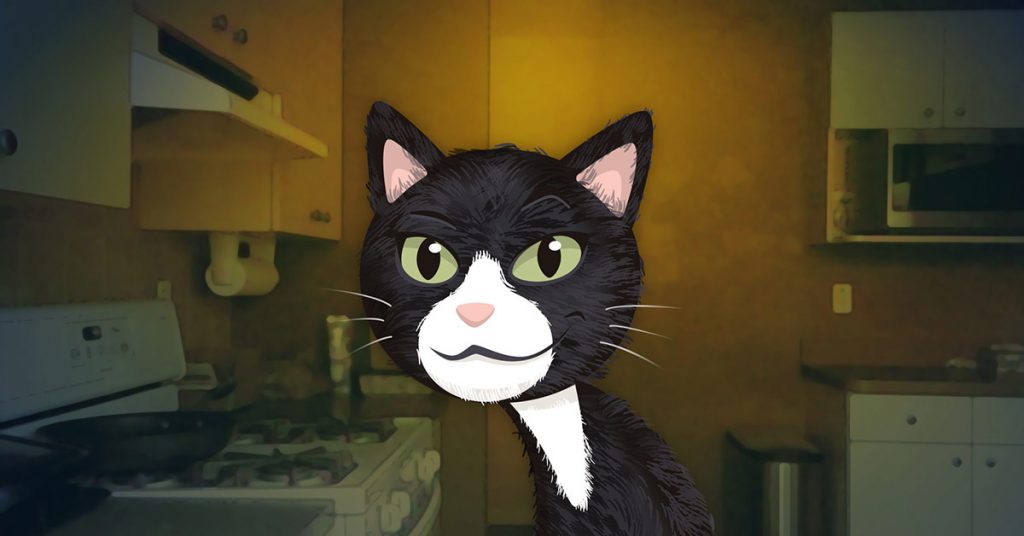
Step 1: Turning a cat into a literal cartoon character
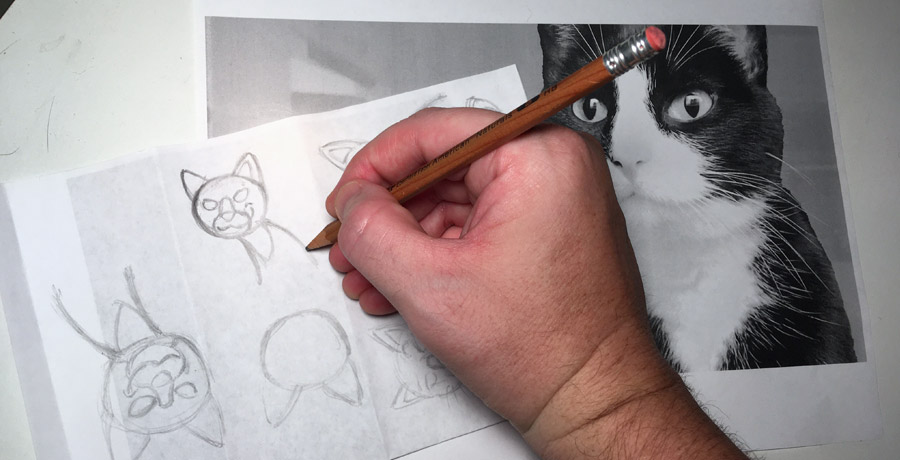
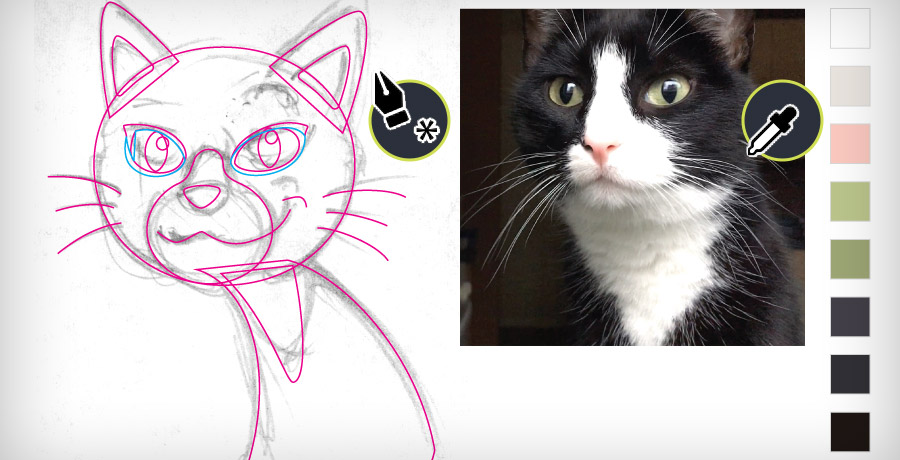
It all starts with an illustration. Here’s a quick rundown my design process:
Step 2: Hair spray
Symbols tools allow you to rapidly apply and manipulate large groups of repeating objects, as opposed to tediously modifying individual objects one at a time.
Creating a Symbol intance
I started with drawing a single hair, and added it to the Symbols panel. This creates an “instance”, which is an object that can be manipulated with the Symbols tools.
In most cases, when you’re working with Symbols you’re going to be constantly switching between tools so it’s not a bad idea to drag that panel out of the toolbar to the artboard.
Working with Symbols
The Sprayer tool applies objects through particle dispersion (or “spraying” them), which is functionally quite a bit different from traditional brush or pen tools.
After producing a group of Symbols, they can be repositioned, resized and even recolored with additional tools.
Note that double-clicking a Symbol tool opens a dialogue box where you can change settings. Each tool has additional functionality with modifier keys; for example, option-clicking with the Symbol Sprayer will remove instances instead of adding them.
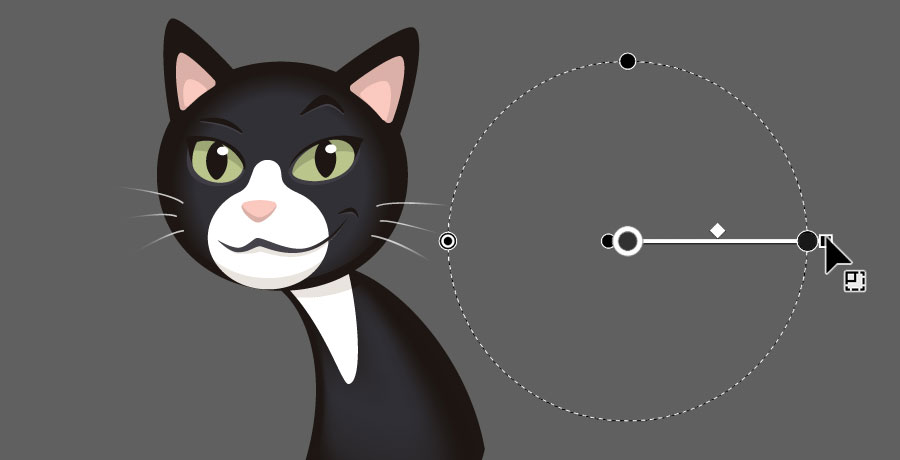
Rotating a Symbol group
Since straight hair usually lays in a general direction, it’s not necessary to create new Symbol instances for various angles. I used the Selection tool to rotate a Symbol group, which conforms to its angle on the artboard rather than the reference Symbol’s original orientation.
Duplicating a Symbol
For one of the final steps, I needed to add texture to the white fur. With Symbols it’s easy to duplicate an existing instance and make slight modifications. In this case I rotated the new Symbol since most of my cat’s white fur appears in a more vertical orientation.
New Symbols are created by dragging the original to the artboard and breaking its link. Then you modify as needed and copy it back into the panel.
Symbols are, of course, not a one-click process. While there’s a lot of craft and some skill involved, it’s still far easier than herding cats.
Speaking of which! Here’s a sneaky little rascal doing what cats do the moment I leave a room: